Getting started - creating services
Turn your analysis code into production-ready services - no infrastructure or DevOps skills needed - and share with your team and beyond.
This guide walks you through creating an example Twined service deployed in the cloud. By the end, you'll have a real service and be able to ask it questions from your computer and receive answers from it over the internet.
Tip
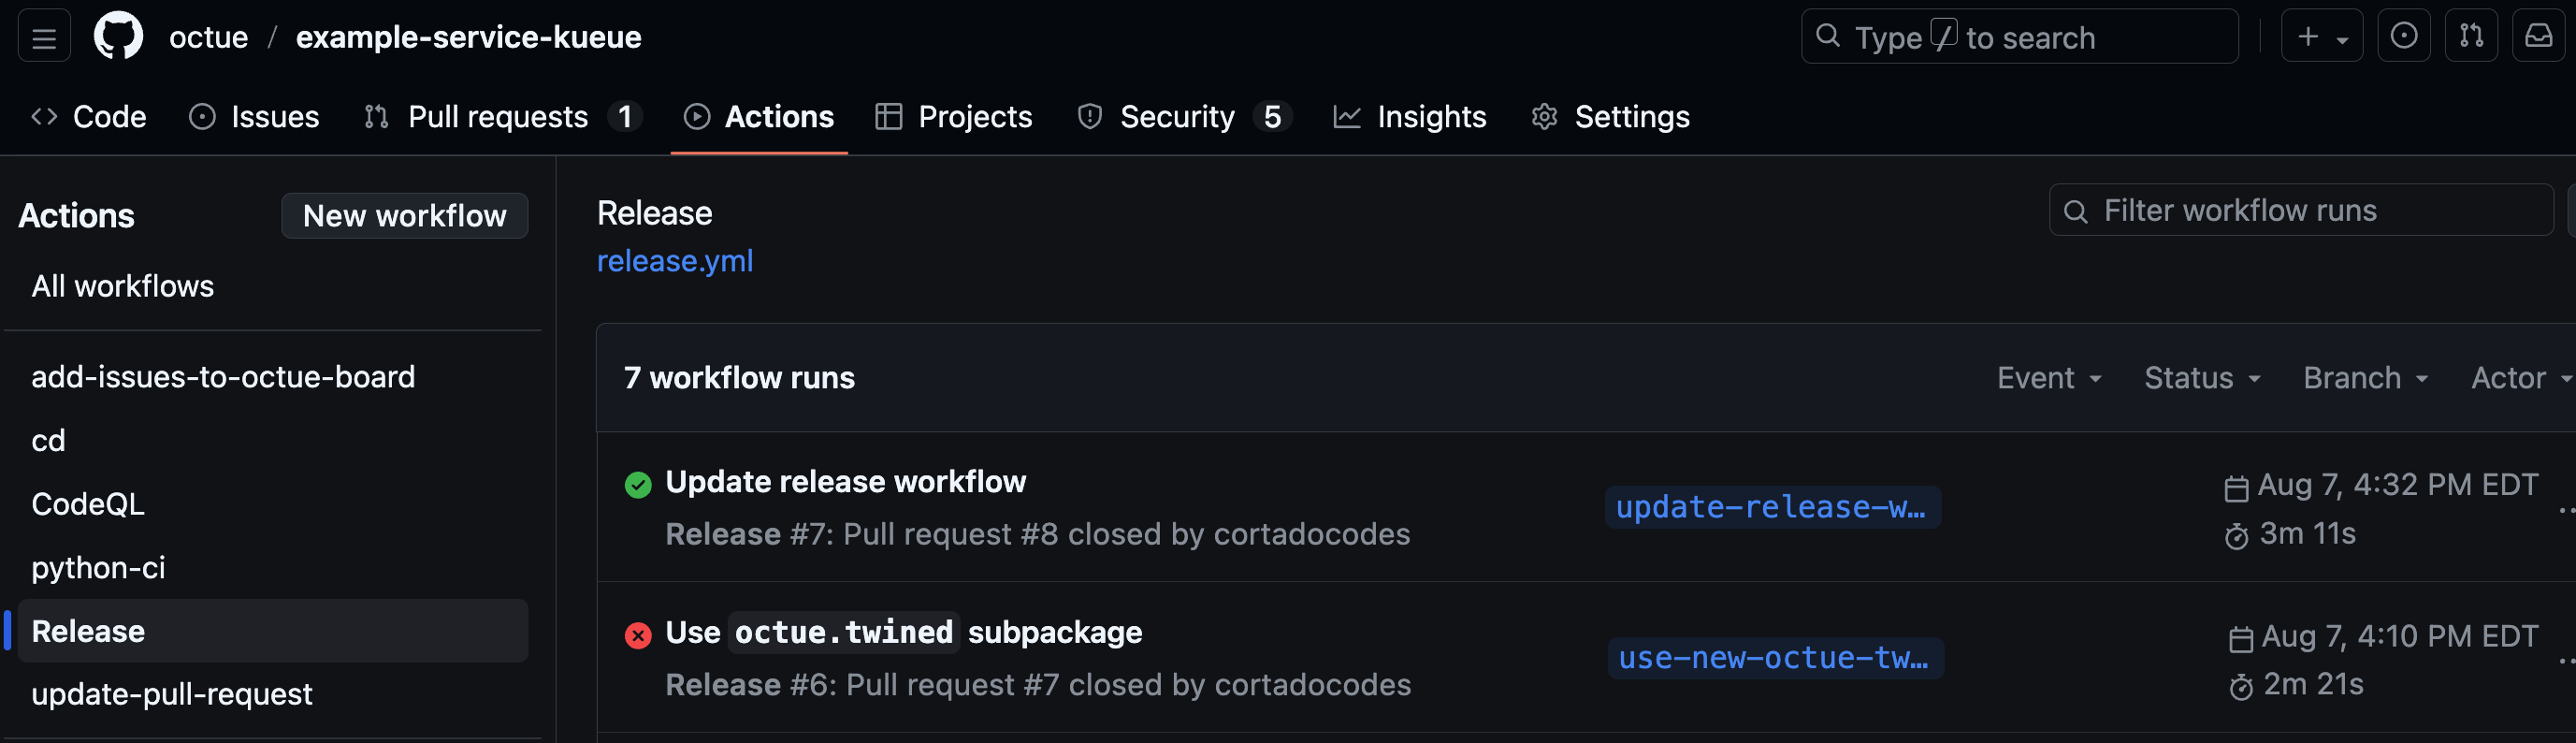
You can see our deployed example service here on GitHub.
Prerequisites
Before you begin, ensure you:
- Are familiar with Python and the command line
- Have the following tools installed:
- Python >= 3.10
- The
octuepython library / CLI (see installation instructions)
- Have access to an existing Twined service network - see authentication instructions and managing infrastructure
Create and clone a GitHub repository
Warning
The repository must be created in the same GitHub account used for your Twined service network. See this issue for more details.
Create a git repository for the service in the GitHub account linked to the Twined service network. Clone this
repository to your computer and checkout a new branch called add-new-service. Replace <handle> with the handle of
the GitHub account.
git clone https://github.com/<handle>/example-service.git
cd example-service
git checkout -b add-new-service
Install the python dependencies
Create a pyproject.toml file to define the service as a python package and list its dependencies:
[tool.poetry]
name = "example-service"
version = "0.1.0"
description = "An example Twined data service."
authors = ["Your name <your email>"]
packages = [{include = "example_service"}]

[tool.poetry.dependencies]
python = "^3.11"
octue = "0.69.0"

[build-system]
requires = ["poetry-core"]
build-backend = "poetry.core.masonry.api"
Tip
We use Poetry in this example but you can use Pip or another package manager with either a setup.py or
pyproject.toml file.
Now install the dependencies:
poetry install
Note that this will create a poetry.lock file with the locked dependency versions in. Keep this file.
Write the service python code
We'll make the example service calculate the first n numbers in the Fibonacci sequence.
Create a directory called example_service with an empty __init__.py file and an app.py file inside. In app.py,
add the following code:
import json
import logging
import time

from octue.resources import Datafile, Dataset
from octue.twined.resources.example import calculate_fibonacci_sequence

logger = logging.getLogger(__name__)


def run(analysis):
    logger.info("Started example analysis.")

    # Get your input values...
    n = analysis.input_values["n"]

    # Do your calculations here...
    sequence = calculate_fibonacci_sequence(n)
    time.sleep(2)

    # Return results by assigning output values...
    analysis.output_values = {"fibonacci": sequence}

    # If output values are too large, or custom/binary file outputs
    # are required, you can save them as Datafiles and add them to
    # the output manifest...
    with Datafile("fibonacci.json", mode="w") as (datafile, f):
        json.dump(analysis.output_values, f)

    analysis.output_manifest.datasets["example_dataset"] = Dataset(files={datafile})
    logger.info("Finished example analysis.")
Add the Twine file
The Twine file is a JSON file containing JSON schemas stating what kind of data is expected as inputs and outputs of the service. It shows users what can be sent to the service and what to expect to receive. Inputs and outputs that violate the schemas won't be processed and will cause an error.
Create a file at the top level of the repository called twine.json:
{
  "input_values_schema": {
    "type": "object",
    "required": ["n"],
    "properties": {
      "n": {
        "type": "integer",
        "minimum": 0
      }
    }
  },
  "output_values_schema": {
    "type": "object",
    "required": ["fibonacci"],
    "properties": {
      "fibonacci": {
        "type": "array",
        "items": {
          "type": "integer"
        }
      }
    }
  },
  "output_manifest": {
    "datasets": {
      "example_dataset": {}
    }
  }
}
Tip
Learn more about twine.json files here.
Add the octue.yaml file
The service configuration file (called octue.yaml) names the service and sets details like where to store output data.
Create an octue.yaml file at the top level of the repository, replacing:
<handle>with the GitHub account handle<gcp-project-id>with the ID of the Google Cloud Platform (GCP) project the Twined service network is deployed in<region>with the name of the GCP region the service network is deployed in (e.g.europe-west1)<environment>with the name of the environment the service network is deployed in (mainby default)
Tip
Ask the manager of your Twined service network to help you with these values!
services:
  - namespace: <handle>
    name: example-service
    app_source_path: example_service
    event_store_table_id: octue_twined.service-events
    diagnostics_cloud_path: gs://<gcp-project-id>-octue-twined/example-service/diagnostics
    output_location: gs://<gcp-project-id>-octue-twined/example-service/outputs
    service_registries:
      - name: <handle>'s services
        endpoint: https://<region>-<gcp-project-id>.cloudfunctions.net/octue-twined-service-registry
Tip
The service registry endpoint is the service_registry_url output of the terraform-octue-twined-core module.
Run terraform output service_registry_url in your terraform_core directory to get it. There's one service
registry per Google Cloud project, shared by every environment.
Tip
Learn more about octue.yaml files here.
Enable GitHub Actions in the repository
Go back to your repository on GitHub and open its Actions settings (Settings -> Actions -> General). Set the "Actions permissions" option to "Allow all actions and reusable workflows".
Add the GitHub Actions deploy workflow
A GitHub Actions reusable workflow is used to automatically deploy the service when its code is merged into main.
Create a file called .github/workflows/deploy.yml and add the following, replacing <handle> and
<gcp-project-id> as before:
name: deploy

# Only trigger when a pull request into main branch is merged.
on:
  push:
    branches:
      - main

jobs:
  deploy:
    uses: octue/workflows/.github/workflows/build-twined-service.yml@0.11.0
    permissions:
      id-token: write
      contents: read
    with:
      gcp_project_name: <gcp-project-id>
      gcp_project_number: <gcp-project-number>
      gcp_region: <gcp-project-region>
      service_namespace: <handle>
      service_name: example-service
Tip
See here for more information, including how to use custom dockerfiles for your service.
Check your files
Once you've finished the steps above, your repository should have a file structure like this:
.
├── .github
│   └── workflows
│       └── deploy.yml
├── example_service
│   ├── __init__.py
│   └── app.py
├── octue.yaml
├── poetry.lock
├── pyproject.toml
└── twine.json
Merge the code into main
To deploy the service, we need to merge the code we've added into the main branch. Make sure any sensitive and
irrelevant files are listed in a .gitignore file and run:
git add .
git commit -m "Add example Twined service"
git push
For best practice, open a pull request for your branch into main, review it, and merge it. For a simpler route:
git checkout main
git merge add-new-service
git push
Navigate to your repository's "Actions" tab on GitHub and you should see the deploy workflow progressing after a few seconds. An in-progress indicator (currently a small orange circle) will be shown against the most recent commit. Once the workflow has completed (which should take only a couple of minutes for this simple example service), a green tick should show next to the most recent commit.
Ask the service its first question
You can now communicate with the service over the internet to ask
it a question! Follow the authentication instructions in the terminal where you ran poetry install, replace
<handle> as before, and run:
octue twined question ask <handle>/example-service:0.1.0 --input-values='{"n": 10}'
After a couple of minutes (while the Kubernetes cluster is spinning up a container to run the service), you should see log messages start to appear. Finally, the first 10 values in the Fibonacci sequence are returned as output values:
[2025-11-05 12:45:29,861 | INFO | octue.twined.resources.example] Starting Fibonacci sequence calculation.
[2025-11-05 12:45:29,861 | INFO | octue.twined.resources.example] Finished Fibonacci sequence calculation.
{"kind": "result", "output_values": {"fibonacci": [0, 1, 1, 2, 3, 5, 8, 13, 21, 34]}, "output_manifest": null}
Tip
See the using services getting started guide to see how to ask questions in python instead.
Next steps
Success
Congratulations on creating your first service! For additional information, check out the following resources:
Troubleshooting
Failure
If you get this error, double check you've followed the authentication instructions fully.
octue.exceptions.CloudLocationNotSpecified: `project_id` must be specified for a service to connect to the correct service - received None.
Failure
If your question gets stuck with a log message saying Waiting for question to be accepted..., take a look at the
troubleshooting infrastructure guide.